Indoor Garden Ideas: Growing Microgreens on a Windowsill
Indoor garden is a brilliant concept because it allows us to grow our own food even in the smallest of spaces. Microgreens make it even better: it is an opportunity to grow a considerable variety of salad leaves without expensive equipment on an ordinary windowsill. There are other advantages as well:
- An indoor garden with microgreens brings an almost instant gratification because with this method the salads are ready to be used within days.
- It can be done without artificial light for much of the year.
- It is convenient, requires very little effort and can be entirely organic.
- ‘Baby’ salad leaves are delicious, very nutritious and look great on a plate.
- An indoor garden looks beautiful when it is growing and can be treated as a decorative feature. It is fascinating to watch seeds germinate and grow for children as well as adults.
- It is also excellent for anyone who is interested in gardening, but has little time, or cannot do any physically demanding work because of an illness.
Equipment for an indoor garden
Microgreens seeds
The equipment necessary for growing microgreens at home is minimal and there is very little expense. There are a few essentials, however. First of all you need seeds. Plants most commonly grown as microgreens are different kinds of radish, cabbage, peas, sunflowers and onions. What you need are ordinary vegetable seeds, not some special varieties.
They are, however, planted densely, and so it is cheaper to buy them by weight, rather than in small packets sold for growing vegetables to maturity. Seeds for ‘sprouting’ and growing microgreens are sold by garden centres, health food shops and numerous online suppliers.
Growing containers
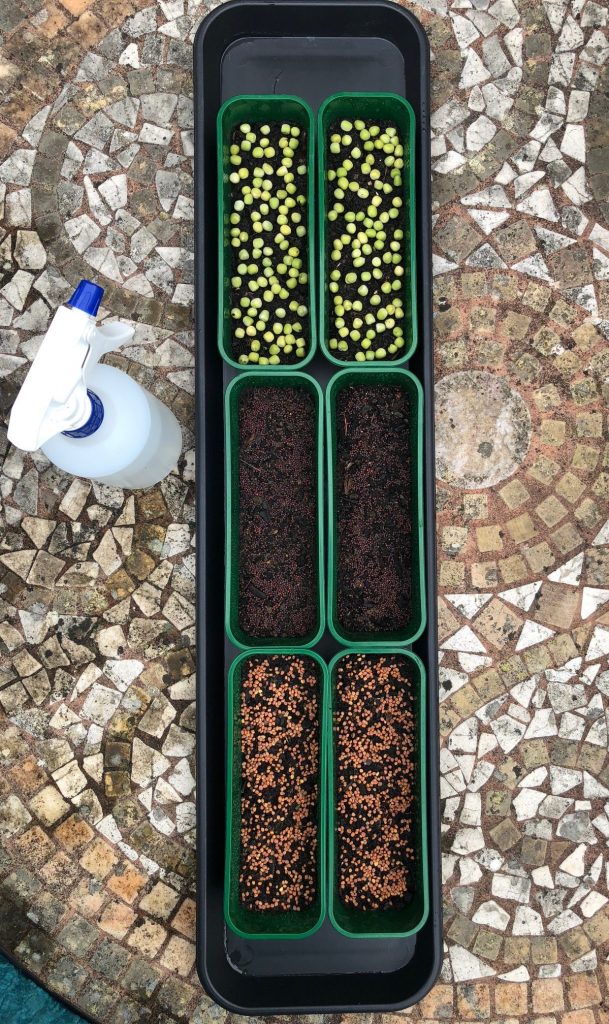
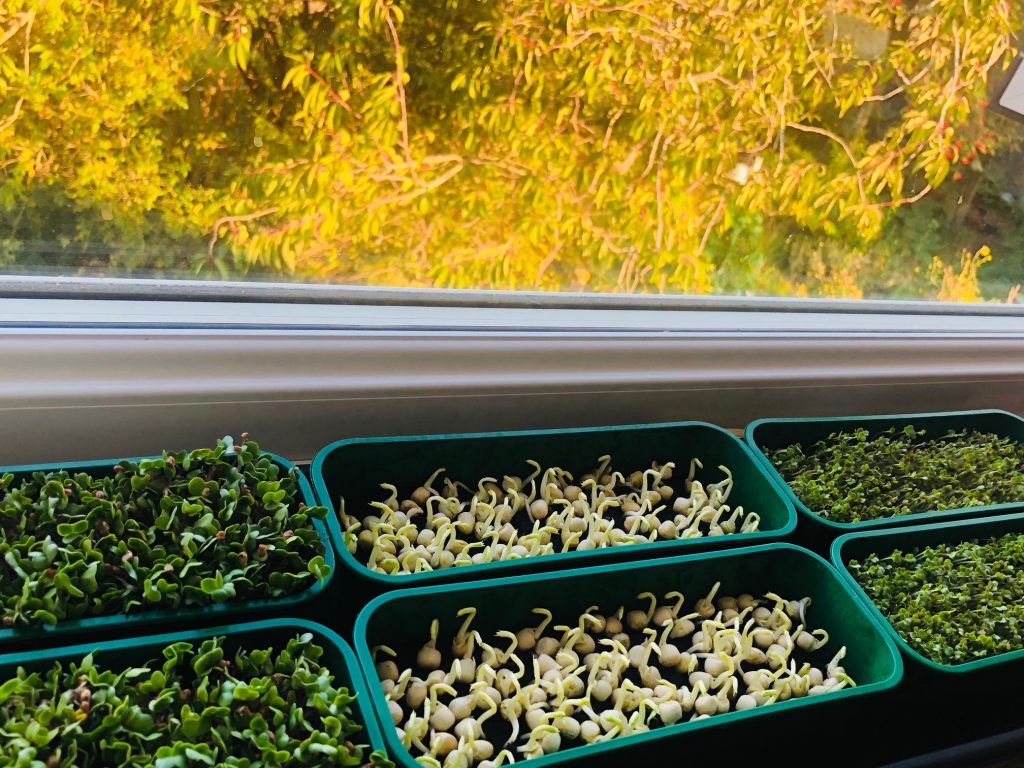
You also need containers to grow microgreens. Because the plants will be in them only for a short time, they don’t have to be deep. I use small containers that are only 5cm deep. The containers should have drainage holes at the bottom to prevent waterlogging.
Waterproof trays
Since the containers have drainage holes, they need to be placed in waterproof trays to avoid damaging the windowsill.
Hand-held spray bottle for watering
This is optional of course, but I find having a spray bottle, such a this one, very convenient. I use it to spray the seeds with water immediately after planting, and while the seedlings are tiny and can be easily dislodged with other methods of watering.
Growing medium
I don’t use any special growing medium and find that the soil from the garden work absolutely fine. Sometimes microgreens are grown in coconut fiber or another similar medium, but I believe that ordinary soil is not only more ecological, but also works best. It provides plants with necessary nutrients, unlike coconut fiber. It therefore makes unnecessary any fertilizers that are often used in growing microgreens. The garden soil is more organic!
How to grow microgreens indoors on a windowsill
Planting microgreens
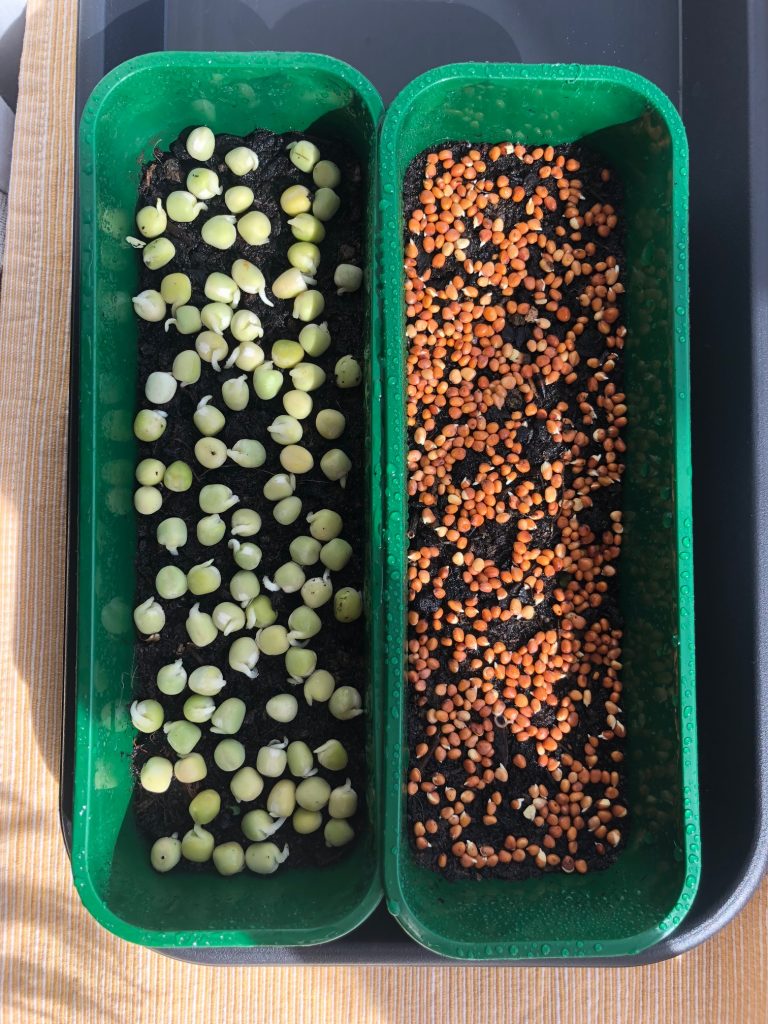
- Fill containers with about 2-3cm of soil.
- Firm it so that it is even. Since I have several identical containers, I use the bottom of one of them to even out and firm the soil in others.
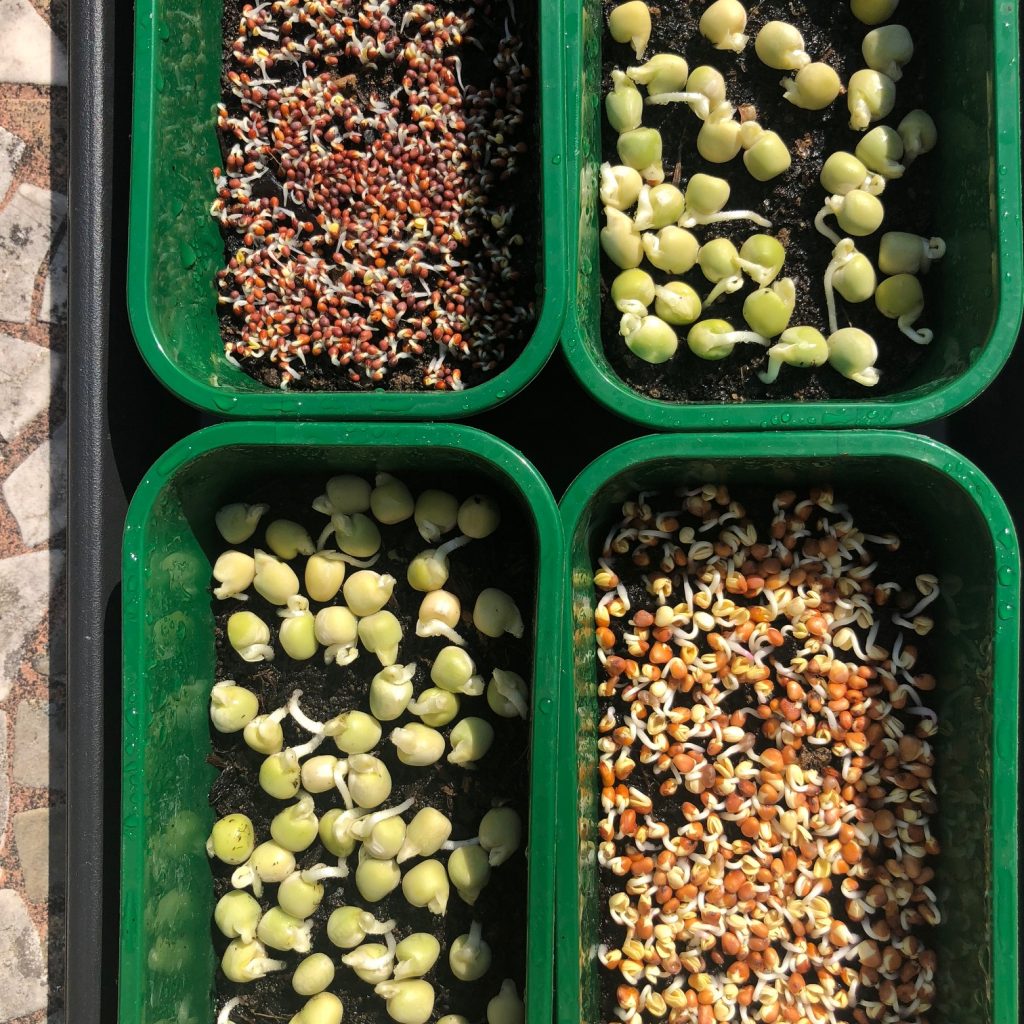
- Put the seeds densely on top of the soil.
- Spray with water using a spray bottle, so that the seeds and the top of the soil are moist.
- Don’t cover the seeds with soil, instead put some weight over them to keep them in good contact with soil. I usually stack two containers one on top of another, and put a third container, half filled with small stones from the garden, on top.
- Finally, put the trays somewhere dark at normal room temperature.
Keeping seeds under weight is an important ‘trick of the trade’. The seeds will of course grow without it, but weight considerably improves the results. It stops the seeds from drying out and reduces the need for spraying them with water. It also ensures that they have a good contact with soil, imitating the pressure from the soil in natural conditions. As a result seeds germinate fully and evenly.
Caring for microgreens in an indoor garden
Caring for microgreens is very simple and here is what needs to be done:
Day 2 (24 hours after planting)
Lift the weights and spay the seeds with water to keep them moist. You will see that they are starting to germinate and develop tiny roots. If the seeds are very small, as those of broccoli, for example, the roots will be so thin, that they may look like mold, but they are not. Put back the weights and leave for another 24 hours.
Day 3 (48 hours after planting)
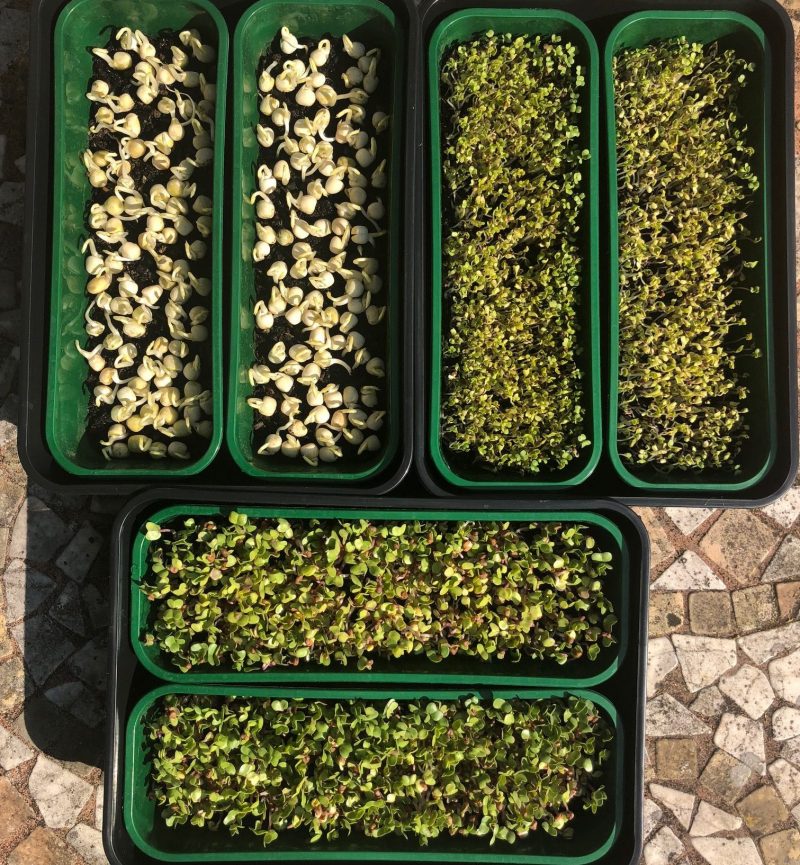
When it is warm, in the summer, for example, seedlings grow fast and may be ready to be moved to a window sill on day 3. Lift the weights and spray them with water. If the seeds have sprouted evenly and are developing roots and shoots, place the containers in waterproof trays on a bright windowsill. It is best to avoid direct sunlight until the next day.
In colder temperature seeds develop more slowly. They can be therefore sprayed with water and left under weights for another day. If they are growing strongly, they may start lifting the weights. Their joint strength is sufficient for this, in spite if their fragile appearance.
This won’t harm them, but is unnecessary in warmer weather, and anyway, it is more interesting to watch them grow.
Day 4 (72 hours after planting)
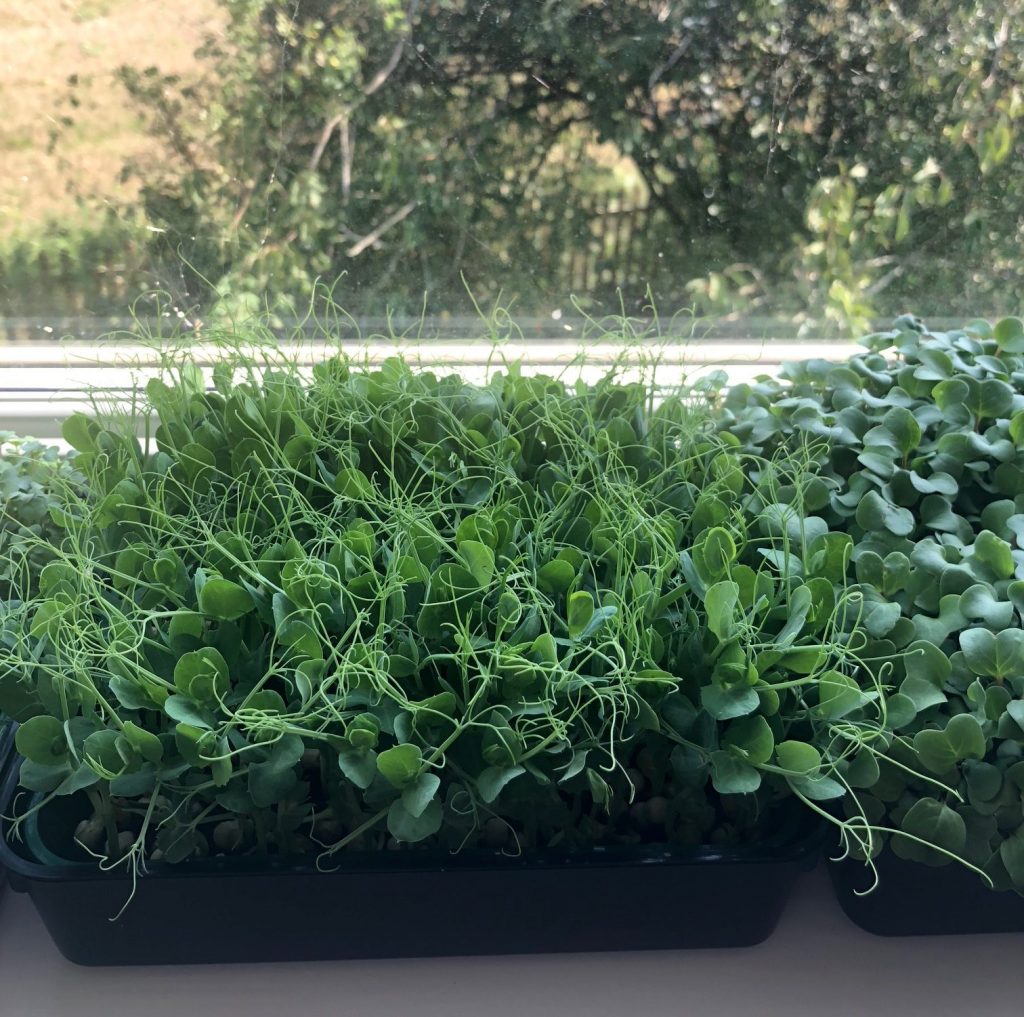
On a windowsill plants will quickly grow. Keep watering them regularly. As the plants get bigger and require more water, it is easier to use a small jug or a child’s watering can instead of a sprayer for watering.
More advice on an indoor garden
There are a few more things to do and watch for:
1. If you grow peas, soak them in water for 24 hours before planting.
2. Mold could be a problem in winter when windows are kept closed. Professional growers use fan ventilators. I don’t use them, and it happen a couple of times that my seedlings got mold. Both times it was broccoli seedlings when I let them sit in water. So to avoid mold:
- Don’t water more then necessary and drain excess water from trays.
- Some microgreens, such as broccoli and sunflowers, are particularly prone to mold. Growers spray sunflowers with hydrogen peroxide solution to prevent it. But a more organic approach is to avoid plants that are prone to mold in winter when windows are kept shut. Among the easiest to grow are peas and radish – they are excellent for more challenging conditions.
3. In the depth of winter plants may not get enough light and grow weak. Which months are the darkest for you depends on where you live – for me it is December and January. Professional growers use artificial light, and it is of course possible to buy a daylight lamp.
One can also experiment with growing microgreens at different times of the year. A south-facing window may have enough light even in winter. Also weaker and ‘leggier’ seedlings may not look as good as the ones that had a lot of light, but they taste just as good.
4. It is a good idea to put fabric (napkins or placemats, for example) under the trays with containers. Even if the trays are entirely waterproof, condensation can gather under them and damage the windowsill. I haven’t had, however, any problems with condensation when the trays were placed on fabric.
For more indoor garden ideas see my other post: Windowsill Garden: Growing Onion Leaves.
Posts related to ‘Indoor Garden Ideas: Growing Microgreens on a Windowsill’
Windowsill Salad Garden: Growing Spring Onions
How to Grow Winter Salad Leaves on the Patio
Chickweed: A Weed or a Delicious Salad Crop?
45 Edible Flowers for Baking, Cakes, Cocktails, Salads and More